AI Keyword Extractor With React & OpenAI
Mar 21, 2023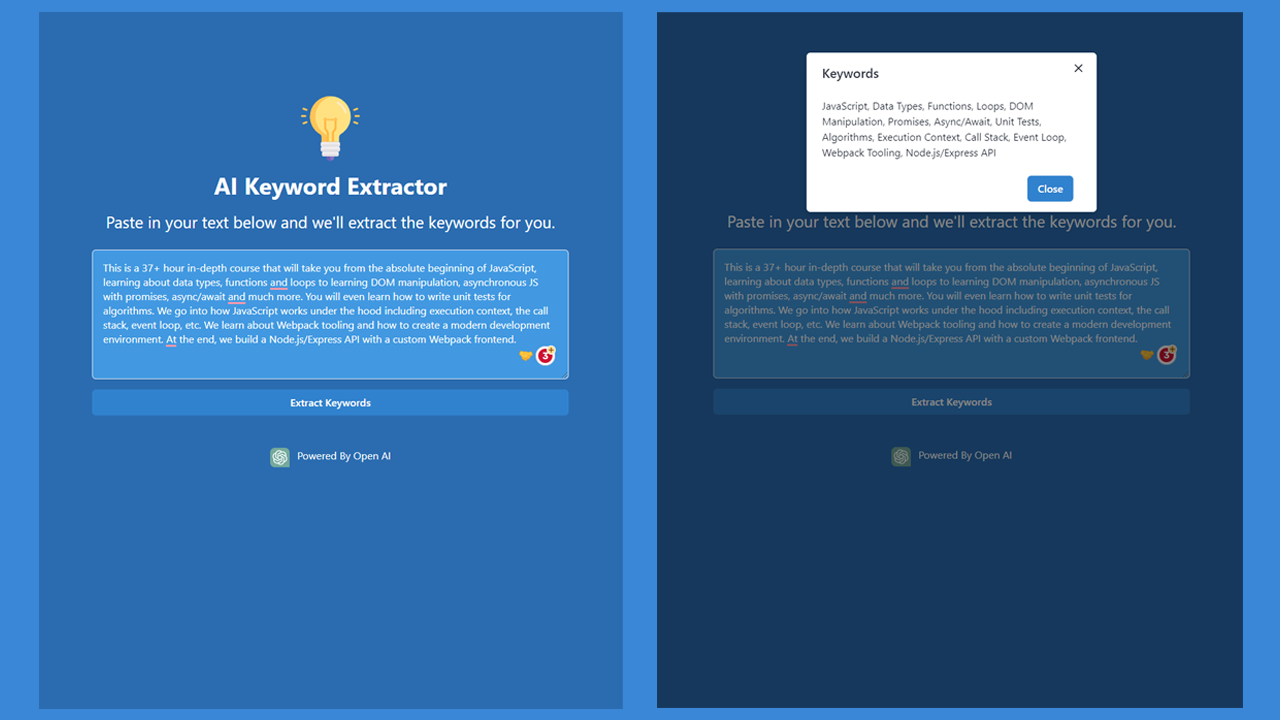
In this project, we are going to build and deploy an AI-powered frontend React app that will extract the best keywords from any given text. We will be using the completions API from Open AI to generate the keywords.
AI in general has been a huge topic in recent months. I'm not usually one to jump on the bandwagon for trendy tech, but this is different. With the release of Chat GPT, GPT-4, and some of the Open AI APIs, it's now possible to do and to build some really cool stuff. A few months ago, I did a tutorial on building an AI image generator. You can find that video here. I'll be doing a lot with AI in the future, so stay tuned if you like this stuff.
Prerequisites
As far as the prerequisites go, you will need to have a basic understanding of JavaScript. We will be using React, but if you don't know React, you can still follow along. I will be explaining everything as we go.
We will be using Vite for this project, but if you want to use Create React App, or even Next.js, Remix or an entirely different framework or no framework, you can do that as well. The API endpoint and options will be the same no matter what you use.
For the UI, we will be using the Chakra UI library. It's my favorite UI library for React. It's super easy to use and it's very customizable. If you want to use a different UI library or just use your own CSS, you can do that as well.
Deployment Plan
As far as deployment goes, we're going to deploy this project to Hostinger, which is one of my favorite providers as far as all-in-one business solutions go. They have a lot of great features, and they're super affordable. You can use the code TRAVERSY and get 10% off. You can deploy projects to Hostinger using Git, but I'm going to show you how to use their 'H-Panel' platform to literally drag and drop your production build and deploy in about 3 seconds.
Create an Open AI Account & Key
You can create an Open AI account at https://platform.openai.com/. It's free to create an account and you get a very generous amount of free API calls. You can also upgrade to a paid account if you need more. I'm actually still on the free account, but I will be upgrading to paid soon.
You can create your key at https://platform.openai.com/account/api-keys page. Create a new key and copy it and paste it anywhere for now. You will need this key for the project.
To view your usage you can go to https://platform.openai.com/account/usage
Getting Started
Alright, so let's jump into a terminal and get started. First, we need to generate a new project. Like I said, I will be using Vite. So I will go to where I want to create my project and run the following command:
npm create vite@latest ai-keyword-extractor
From here, I will select React as my framework, and I will select JavaScript as my language. If you want to use Vue or something else and if you want to use TypeScript, you can do that as well.
I just want to make a note that if you're using Windows with Git Bash, sometimes the arrow keys don't work here, but you can just add the -- --template react flag to the end of the command and it automatically selects React for you.
npm create vite@latest ai-keyword-extractor -- --template react
Now, change directories into the project and install the dependencies.
cd ai-keyword-extractor
npm install
Open the project in your editor of choice. I'm using VS Code, so I can just run code .
By default, Vite will open the dev server on port 5173. I prefer to use port 3000, so I will change that in the vite.config.js file.
import { defineConfig } from 'vite';
import react from '@vitejs/plugin-react';

// https://vitejs.dev/config/
export default defineConfig({
  plugins: [react()],
  server: {
    port: 3000,
  },
});
Adding the API Key To .env
With Vite, we can create environment variables, just like with Create React App. Create a file named .env in the root of the project.
We can add our API key and url to this file:
VITE_OPENAI_API_KEY='YOUR_API_KEY'
VITE_OPENAI_API_URL='https://api.openai.com/v1/completions'
Now, I just want to mention that if you do plan on having a production project, you shouldn't really do this because even though we are using environment variables, this is still the frontend. If you plan on creating a production project, I would suggest either having a custom backend where you can store the key and make a request to get it or you can use serverless functions. For learning purposes or even a portfolio project or something, this is fine in my opinion.
Let's go ahead and run the dev server:
npm run dev
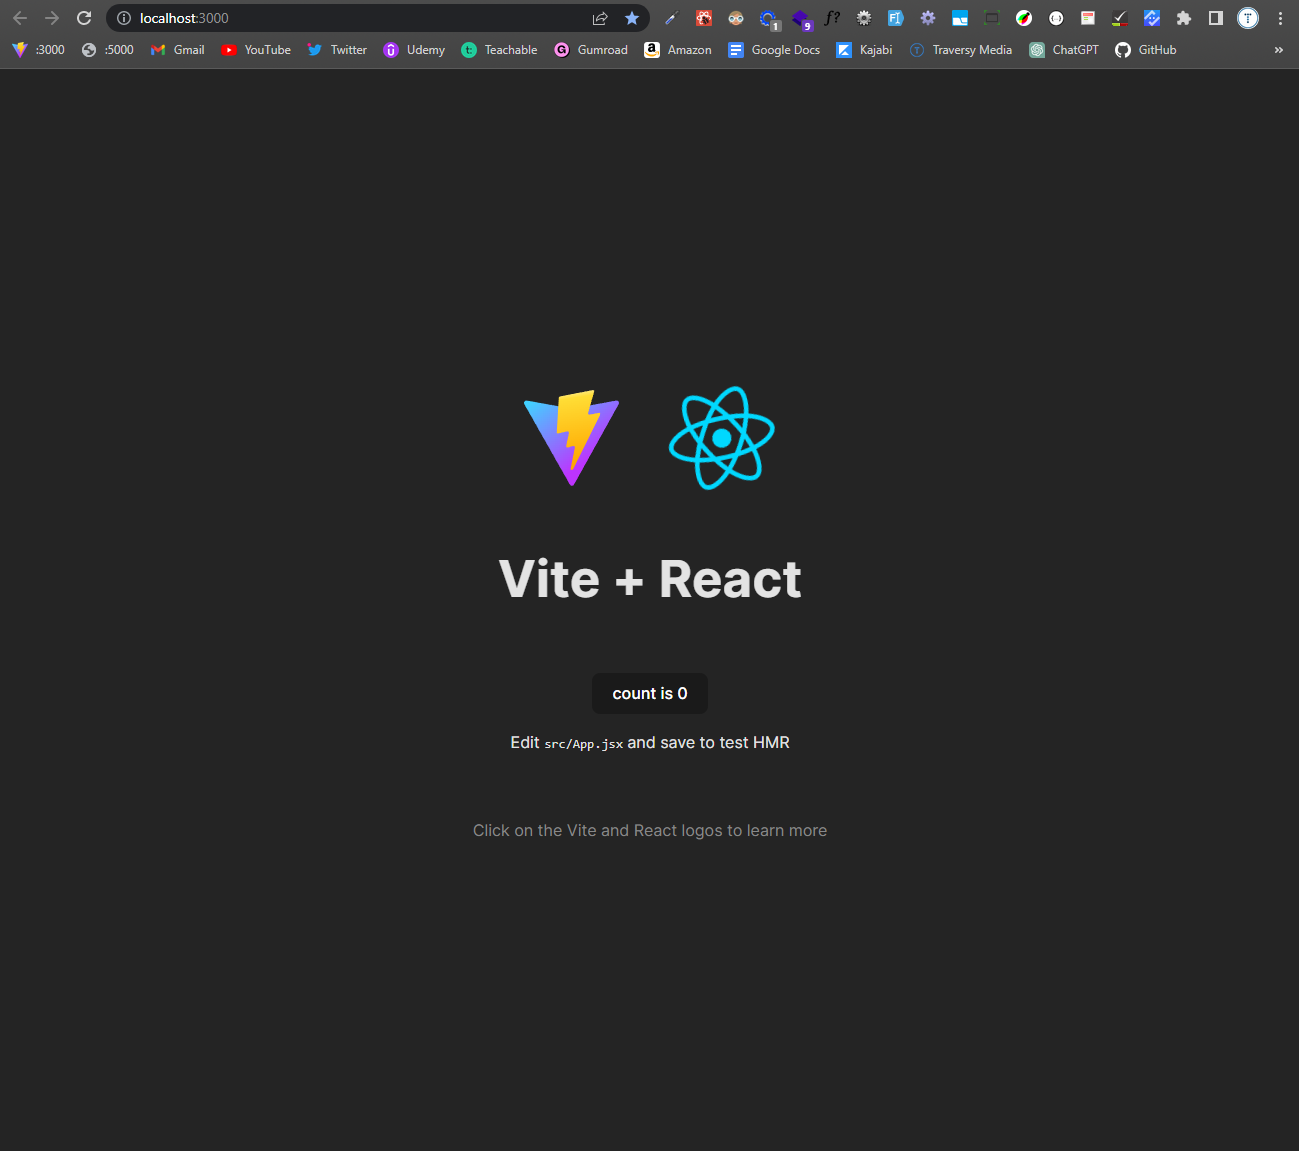
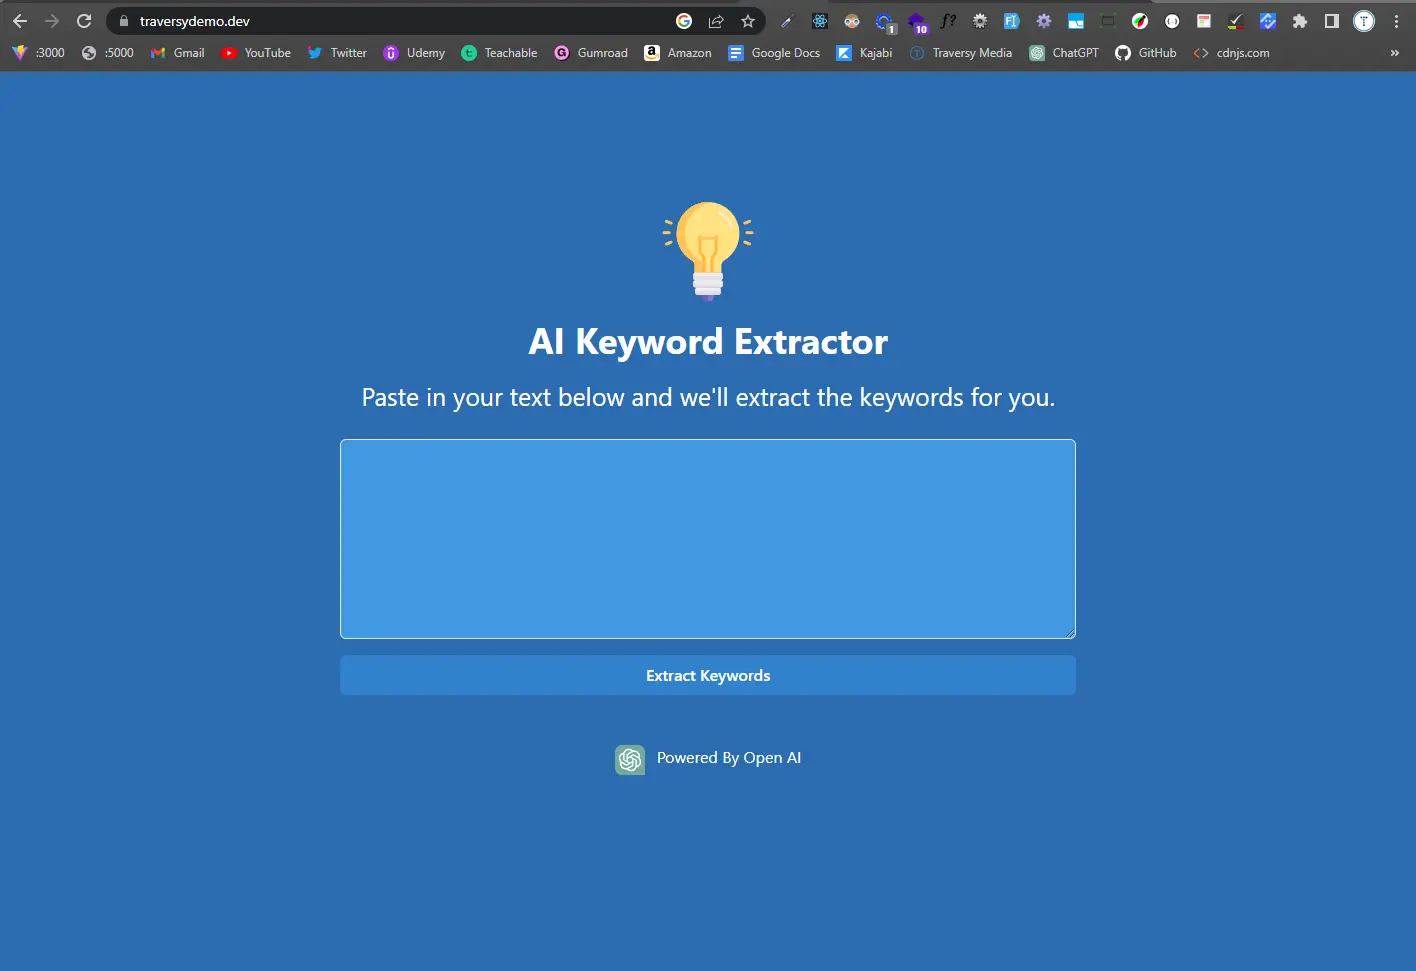
You should see the landing page:
Clean Up
There isn't much boilerplate that we need to clear out when using Vite. Remove the App.css file and the react.svg file in the assets folder. Also, clear out the entire index.css file, but leave it just in case you want to use it.
In the index.html file, let's change the title to AI Keyword Extractor and remove the favicon.
<title>AI Keyword Extractor</title>
In the App.js file, let's clear out the boilerplate and add the following:
const App = () => {
  return (
    <>
      <h1>My App</h1>
    </>
  );
};

export default App;
Images
I do have two images that we need. One is a lightbulb image that we are using sort of as a logo and then I also have the Open AI Logo for the footer. You can get those directly from the repo or you can use your own images or no images.
Bring the two files, lightbulb.svg and openai.png into the assets folder.
Now we can start building the app.
Chakra Setup
We will be using the Chakra UI library. Let's install it with the following command:
npm i @chakra-ui/react @emotion/react @emotion/styled framer-motion
We need to then just bring in the provider and wrap it around our app. Make your main.jsx file look like this:
import React from 'react';
import ReactDOM from 'react-dom/client';
import App from './App';
import './index.css';
import { ChakraProvider } from '@chakra-ui/react';

ReactDOM.createRoot(document.getElementById('root')).render(
  <React.StrictMode>
    <ChakraProvider>
      <App />
    </ChakraProvider>
  </React.StrictMode>
);
If you go to your browser now, you'll see the font has changed and the margins have been removed. That's because Chakra has some default styles that it applies.
Basic Layout
We are going to bring a few things from Chakra into the App.jsx file and create a basic layout or container.
In the App.jsx file, import the Box and Container components from Chakra.
import { Container, Box } from '@chakra-ui/react';
Then add them with the following attributes in your App component:
const App = () => {
  return (
    <Box bg='blue.600' color='white' height='100vh' paddingTop={130}>
      <Container maxW='3xl' centerContent>
        <h1>My App</h1>
      </Container>
    </Box>
  );
};
Now you should have a blue background and the content in the center.
Header Component
We'll start with the Header component. Create a new folder called components and add a file called Header.jsx.
Import a few components from Chakra. We will be using the Heading, Image and Text components. we will also bring in the lightbulb image.
import { Heading, Image, Text } from '@chakra-ui/react';
import logo from '../assets/light-bulb.svg';
The rest of the component will look like this:
const Header = () => {
  return (
    <>
      <Image src={logo} alt='logo' width={100} marginBottom='1rem' />
      <Heading color='white' marginBottom='1rem'>
        AI Keyword Extractor
      </Heading>
      <Text fontSize={25} textAlign='center'>
        Paste in your text below and we'll extract the keywords for you.
      </Text>
    </>
  );
};

export default Header;
The code is pretty self-explanatory. We are just bringing in the image and then using the Heading and Text components to display the title and the text.
Import the Header component into the App.jsx file and add it to the Container component.
import Header from './components/Header';

<Container maxW='3xl' centerContent>
  <Header />
</Container>;
Footer
The footer is very simple. It will just be have the text 'Powered by Open AI' and the Open AI logo. Create a new file called Footer.jsx in the components folder and add the following code:
import { Box, Text, Image, Flex } from '@chakra-ui/react';
import logo from '../assets/openai.png';

const Footer = () => {
  return (
    <Box marginTop={50}>
      <Flex justifyContent='center' alignItems='center'>
        <Image src={logo} marginRight={3} />
        <Text>Powered By Open AI</Text>
      </Flex>
    </Box>
  );
};
export default Footer;
Import the Footer component into the App.jsx file and add it to the Container component.
import Footer from './components/Footer';

<Container maxW='3xl' centerContent>
  <Header />
  <Footer />
</Container>;
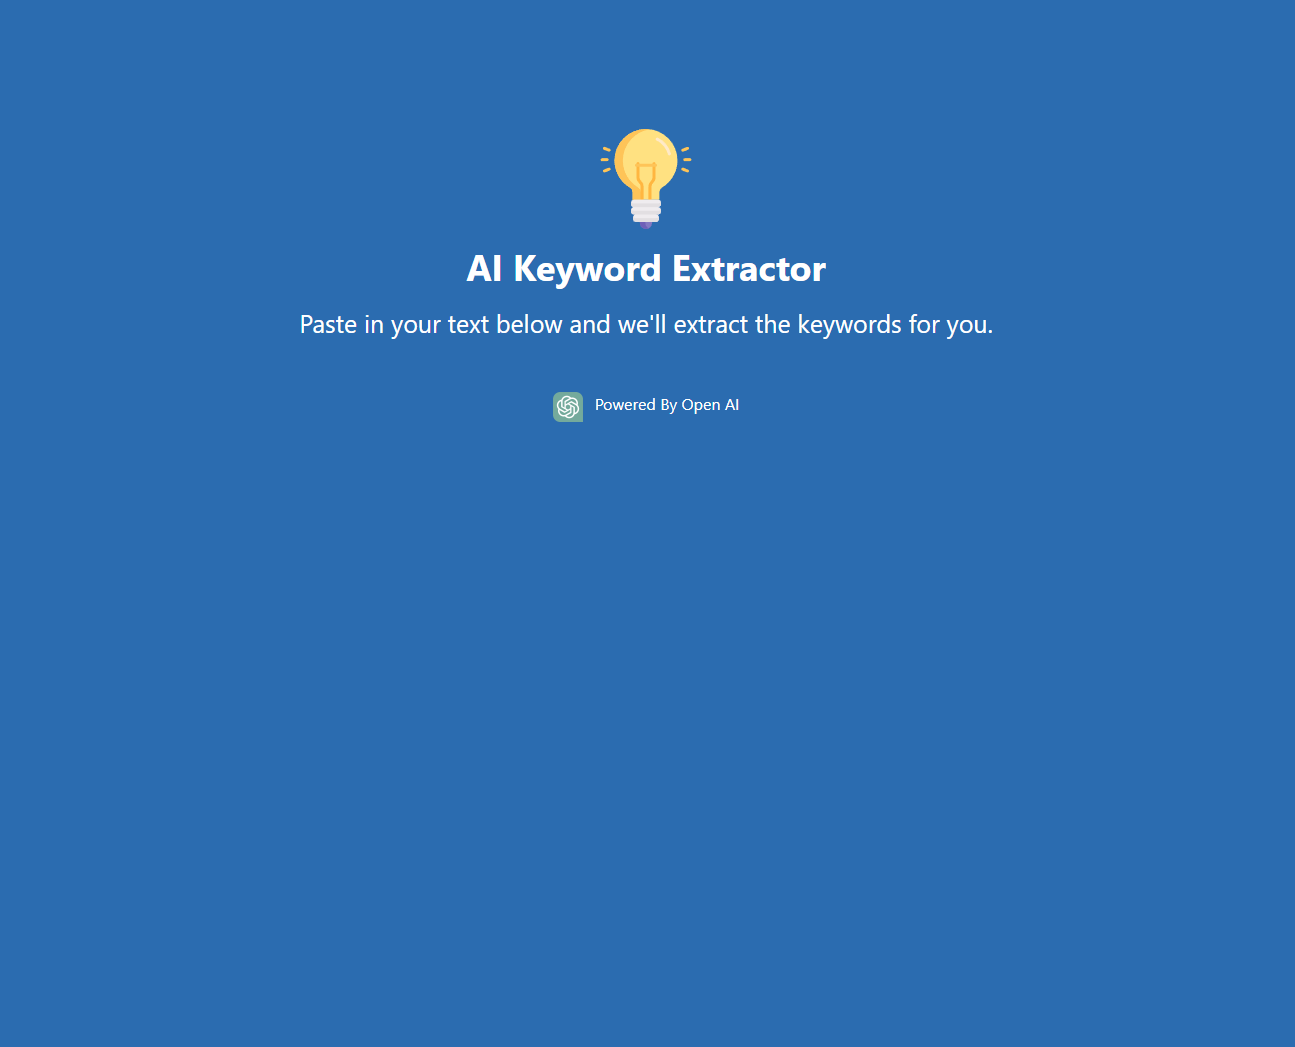
Now, your page should look like this:
Text Input Component
We need a way to input our text that we want to extract the keywords from. Create a new component called TextInput.jsx in the components folder.
Import the following:
import { useState } from 'react';
import { Button, Textarea } from '@chakra-ui/react';
import { useToast } from '@chakra-ui/react';
Let's create the output first and just get it displayed on the page:
const TextInput = () => {
  const [text, setText] = useState('');

  const submitText = () => {
    console.log('submit');
  };

  return (
    <>
      <Textarea
        bg='blue.400'
        padding={4}
        marginTop={6}
        height={200}
        color='white'
        value={text}
        onChange={(e) => setText(e.target.value)}
      />

      <Button
        bg='blue.500'
        color='white'
        marginTop={4}
        width='100%'
        _hover={{ bg: 'blue.700' }}
        onClick={submitText}
      >
        Extract Keywords
      </Button>
    </>
  );
};
export default TextInput;
We are using a useState hook to store the text that the user inputs. We are using the Textarea and Button Components from Chakra. We are also setting the value to the text state and the onChange to update the text state. The submitText function is just a placeholder for now.
Add the TextInput component to the App.jsx file.
import TextInput from './components/TextInput';

<Container maxW='3xl' centerContent>
  <Header />
  <TextInput />
  <Footer />
</Container>;
Validation
I do want to make sure that the use inputs some text, so let's add some validation. We will use the useToast hook from Chakra to display a toast message if the user doesn't input any text.
In the TextInput.jsx file, initialize the useToast hook at the top of the component, right under the useState hook:
const TextInput = () => {
  const [text, setText] = useState('');

  // Add this here
  const toast = useToast();
Then edit the submitText function to check if the text is empty and display a toast message if it is:
const submitText = () => {
  if (text === '') {
    toast({
      title: 'Text field is empty.',
      description: 'Please enter some text to extract keywords.',
      status: 'error',
      duration: 5000,
      isClosable: false,
    });
    return;
  }

  console.log('proceed');
};
Now, try and submit the form without entering any text. You should see a toast message appear at the bottom of the page.
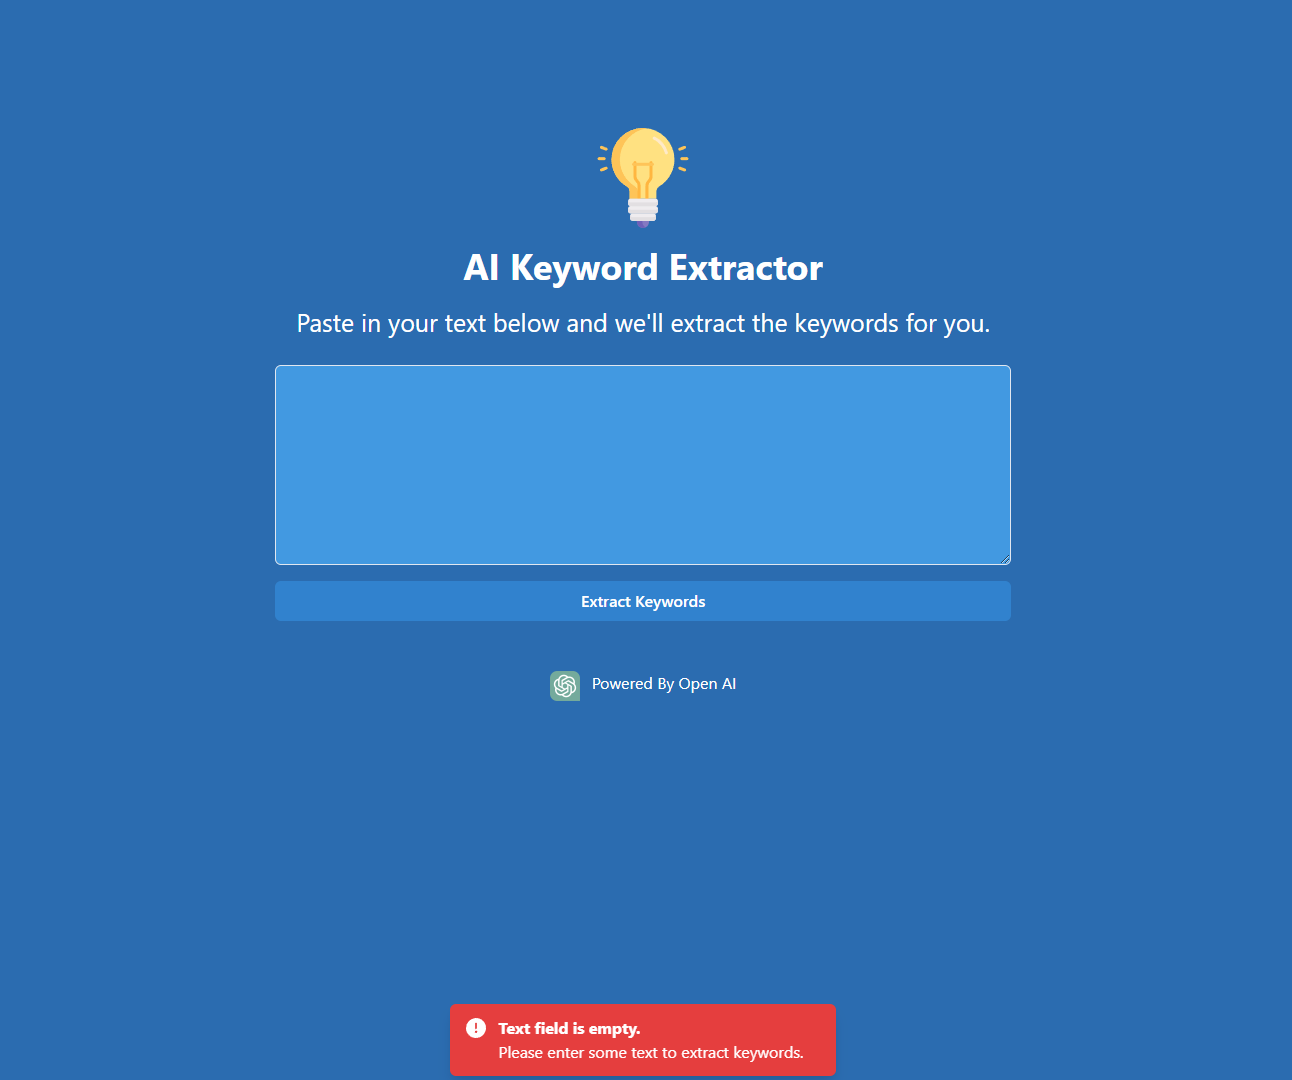
If you add text, you should see the 'proceed' message in the console.
Extract Keywords
Now comes the fun part. We are going to use the Open AI API to extract the keywords from the text that the user inputs.
Replace the console.log('proceed') with a function called extractKeywords that we will pass in as a prop from the App.jsx file. The end result should look like this:
import { useState } from 'react';
import { Button, Textarea } from '@chakra-ui/react';
import { useToast } from '@chakra-ui/react';

// Add prop of extractKeywords
const TextInput = ({ extractKeywords }) => {
  const [text, setText] = useState('');
  const toast = useToast();

  const submitText = () => {
    if (text === '') {
      toast({
        title: 'Text field is empty.',
        description: 'Please enter some text to extract keywords.',
        status: 'error',
        duration: 5000,
        isClosable: false,
      });
      return;
    }

    // Call function
    extractKeywords(text);
  };

  return (
    <>
      <Textarea
        bg='blue.400'
        padding={4}
        marginTop={6}
        height={200}
        color='white'
        value={text}
        onChange={(e) => setText(e.target.value)}
      />

      <Button
        bg='blue.500'
        color='white'
        marginTop={4}
        width='100%'
        _hover={{ bg: 'blue.700' }}
        onClick={submitText}
      >
        Extract Keywords
      </Button>
    </>
  );
};
export default TextInput;
Now, we need to pass in the extractKeywords function as a prop from the App.jsx file.
In the App.jsx file, import the useState hook and the TextInput component:
import { useState } from 'react';
import TextInput from './components/TextInput';
Create a prop called extractKeywords and pass it into the TextInput component:
<TextInput extractKeywords={extractKeywords} />
Create the extractKeywords function and pass in the text as a parameter:
const extractKeywords = (text) => {
  console.log(text);
};
Now, when you submit the form, you should see the text that you entered in the console.
App State
As far as our state goes, we will have keywords for the keywords that are extracted, an isOpen state for the modal, and a isLoading state for the loading spinner.
const [keywords, setKeywords] = useState([]);
const [isOpen, setIsOpen] = useState(false);
const [loading, setLoading] = useState(false);
Making The API Call
We are going to use the fetch API to make the API call. If you want to use Axios or something else, feel free to do so.
I am going to give you the initial code for the extractKeywords function and then explain what is going on.
const extractKeywords = async (text) => {
  setLoading(true);
  setIsOpen(true);

  const options = {
    method: 'POST',
    headers: {
      'Content-Type': 'application/json',
      Authorization: `Bearer ${import.meta.env.VITE_OPENAI_API_KEY}`,
    },
    body: JSON.stringify({
      model: 'text-davinci-003',
      prompt:
        'Extract keywords from this text. Make the first letter of every word uppercase and separate with commas:\n\n' +
        text +
        '',
      temperature: 0.5,
      max_tokens: 60,
      top_p: 1.0,
      frequency_penalty: 0.8,
      presence_penalty: 0.0,
    }),
  };

  try {
    const response = await fetch(import.meta.env.VITE_OPENAI_API_URL, options);
    const json = await response.json();
    console.log(json.choices[0].text.trim());
    setKeywords(json.choices[0].text.trim());
    setLoading(false);
  } catch (error) {
    console.error(error);
  }
};
The first thing we do is set the loading state to true and the isOpen state to true. This will open the modal and display the loading spinner, once we implement those.
Next, we create the options object that we will pass into the fetch API. We are using the VITE_OPENAI_API_KEY and VITE_OPENAI_API_URL environment variables that we created earlier.
Model
We have quite a few body parameters that we are passing in. The model is the model that we are using to extract the keywords. In this case, we are using the text-davinci-003 model.
Prompt
The prompt is the text that we are passing in. Notice that I am not passing the text directly into the prompt. I am adding some text before it. This is what makes this API so powerful. We can use it for literally anything. I could have put the text 'Respond like a travel agent for the following text` for a virtual support assistant for a travel agency or 'translate this text into Spanish' for a translation app. There are literally endless possibilities.
Temperature
This is a value between 0 and 1 that controls randomness.
When you set a higher temperature, the API will generate more creative and diverse responses because it will sample from a wider range of possible next words. The downside is it can lead to more unexpected and unpredictable results.
On the other hand, when you set a lower temperature, the API will generate more conservative and predictable responses because it will only sample from a narrower range of possible next words. This can lead to more coherent and focused results.
0.5 is a good starting point. You can play around with it and see what works best for you.
Max Tokens
This is the maximum number of tokens or words that the API will return. You get a certain number of tokens for your trial, so you don't want really long responses, but you also don't want them too short. I set it to 60 for this example.
Top P
This is used to control the diversity of the returned text. It is a number between 0 and 1 that represents the cumulative probability distribution of the top tokens.
Frequency Penalty
This is a parameter that can be used to discourage the generation of repeated phrases or words in the generated text. When you set a higher value for "frequency penalty," the API will be more likely to avoid being repetitive.
Presence Penalty
This is a parameter that can be used to discourage the generation of certain words or phrases in the generated text.
When you set a higher value for "presence penalty," the API will be more likely to avoid generating words or phrases that you specify. This can be useful if you want to generate text that excludes certain topics or concepts.
The next thing we did is make the actual API call. We are using the fetch API to make the call. We are passing in the VITE_OPENAI_API_URL and the options object that we created earlier.
Once we get the response, we are logging it. We are setting the keywords state to the response. We are also setting the loading state to false.
Let's try it out by putting something into the text area and clicking the button. I found a good example is the blurb from my Modern JS course landing page at https://www.traversymedia.com/modern-javascript-2-0.
I will input the text
This is a 37+ hour in-depth course that will take you from the absolute beginning of JavaScript, learning about data types, functions and loops to learning DOM manipulation, asynchronous JS with promises, async/await and much more. You will even learn how to write unit tests for algorithms. We go into how JavaScript works under the hood including execution context, the call stack, event loop, etc. We learn about Webpack tooling and how to create a modern development environment. At the end, we build a Node.js/Express API with a custom Webpack frontend.
Let's see what we get back:
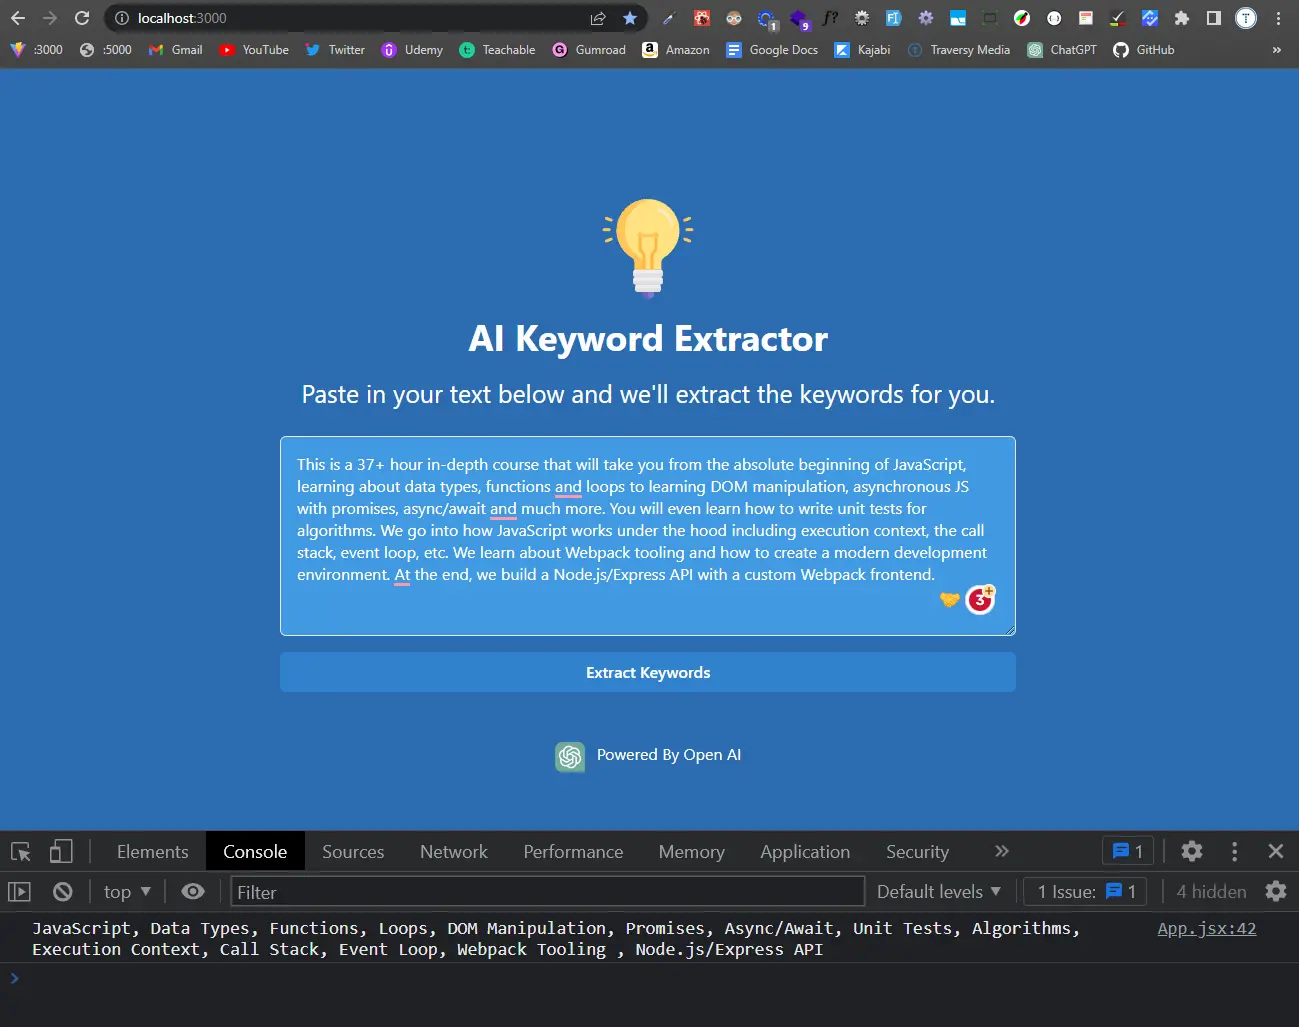
We can see that the API did a great job of extracting the keywords from the text.
Displaying The Keywords
Now that we have the keywords, we need to display them in the modal. Let's create a new component called KeywordsModal and add the following code:
import {
  Text,
  Button,
  Modal,
  ModalOverlay,
  ModalContent,
  ModalHeader,
  ModalFooter,
  ModalBody,
  ModalCloseButton,
  CircularProgress,
} from '@chakra-ui/react';

const KeywordsModal = ({ keywords, loading, isOpen, closeModal }) => {
  return (
    <>
      <Modal isOpen={isOpen} onClose={closeModal}>
        <ModalOverlay />
        <ModalContent>
          <ModalHeader>Keywords</ModalHeader>
          <ModalCloseButton />
          <ModalBody display='flex' alignItems='center' justifyContent='center'>
            {loading ? (
              <CircularProgress isIndeterminate color='blue.300' />
            ) : (
              <Text>{keywords}</Text>
            )}
          </ModalBody>

          <ModalFooter>
            <Button colorScheme='blue' mr={3} onClick={closeModal}>
              Close
            </Button>
          </ModalFooter>
        </ModalContent>
      </Modal>
    </>
  );
};
export default KeywordsModal;
Here, we are bringing in all of the components that we need from Chakra UI. We are also destructuring the keywords, loading, isOpen and closeModal props. These will be passed in from the App component.
For the modal body, we are checking to see if the loading state is true. If it is, we are displaying the loading spinner. If it is not, we are displaying the keywords.
We also have a button to close the modal.
Implementing The Modal
Now that we have the KeywordsModal component, we need to import it into the App component.
import KeywordsModal from './components/KeywordsModal';
We also need a way to close the modal and pass it into the KeywordsModal component. Create a function called closeModal and add the following code:
const closeModal = () => {
  setIsOpen(false);
};
Now embed the component into the App component. It doesn't have to be in the container. I just put it at the bottom of the App component.
return (
  <Box bg='blue.600' color='white' height='100vh' paddingTop={130}>
    <Container maxW='3xl' centerContent>
      <Header />
      <TextInput extractKeywords={extractKeywords} />
      <Footer />
    </Container>
    {// Add this}
    <KeywordsModal
      keywords={keywords}
      loading={loading}
      isOpen={isOpen}
      closeModal={closeModal}
    />
  </Box>
);
Let's try out the final app. I will put the same text into the text area and click the button.
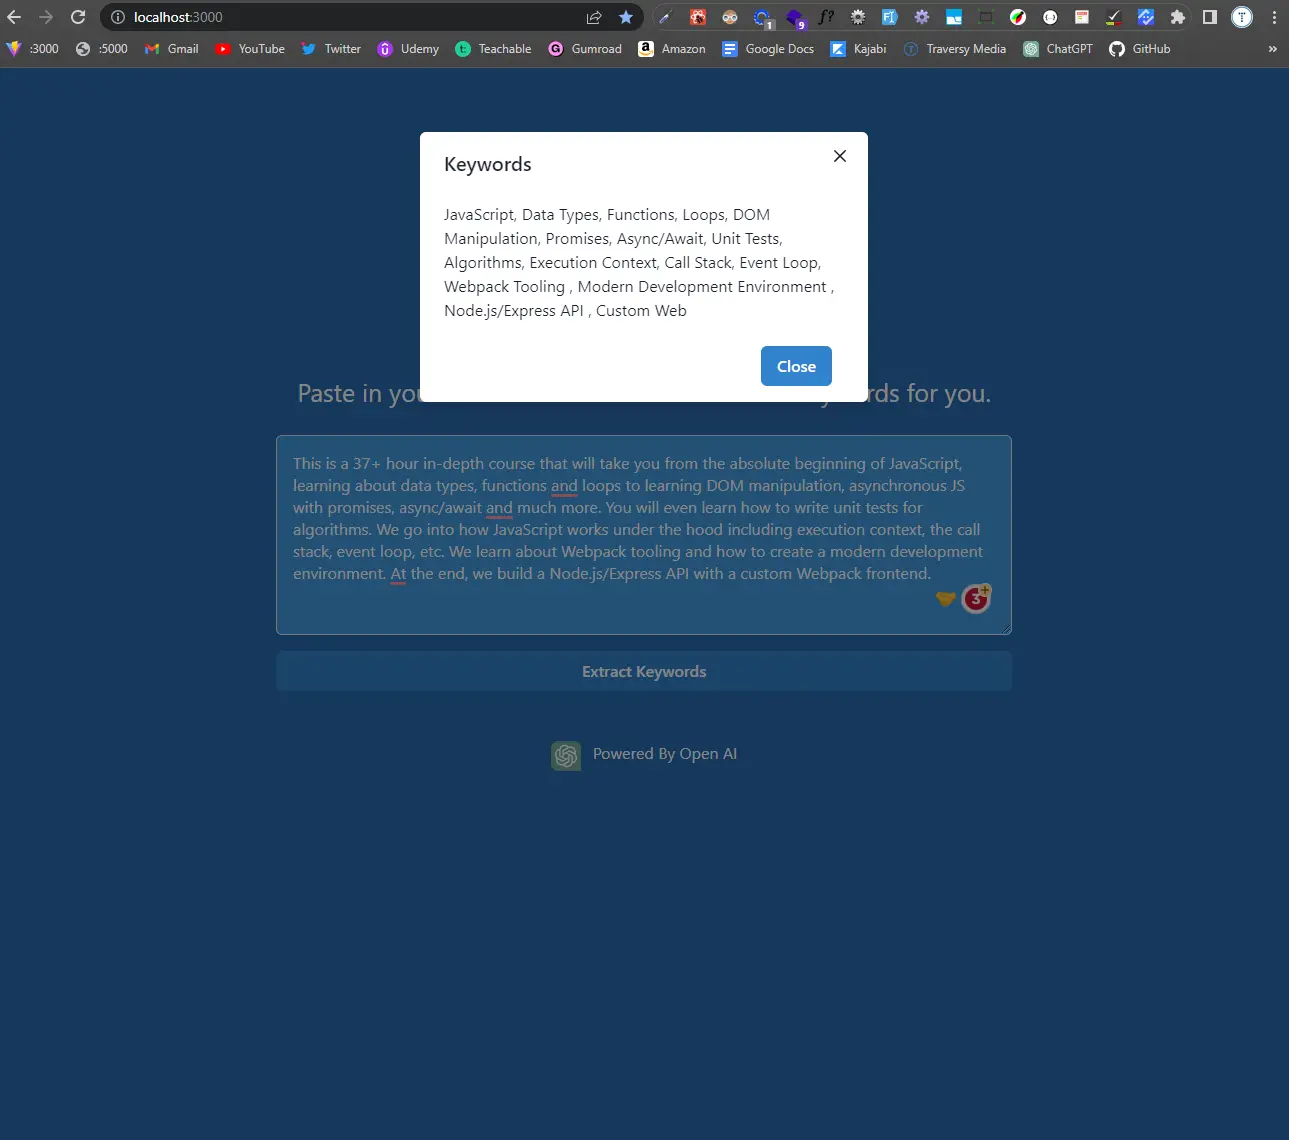
As you can see, we get the results in a modal. We can close the modal by clicking the close button.
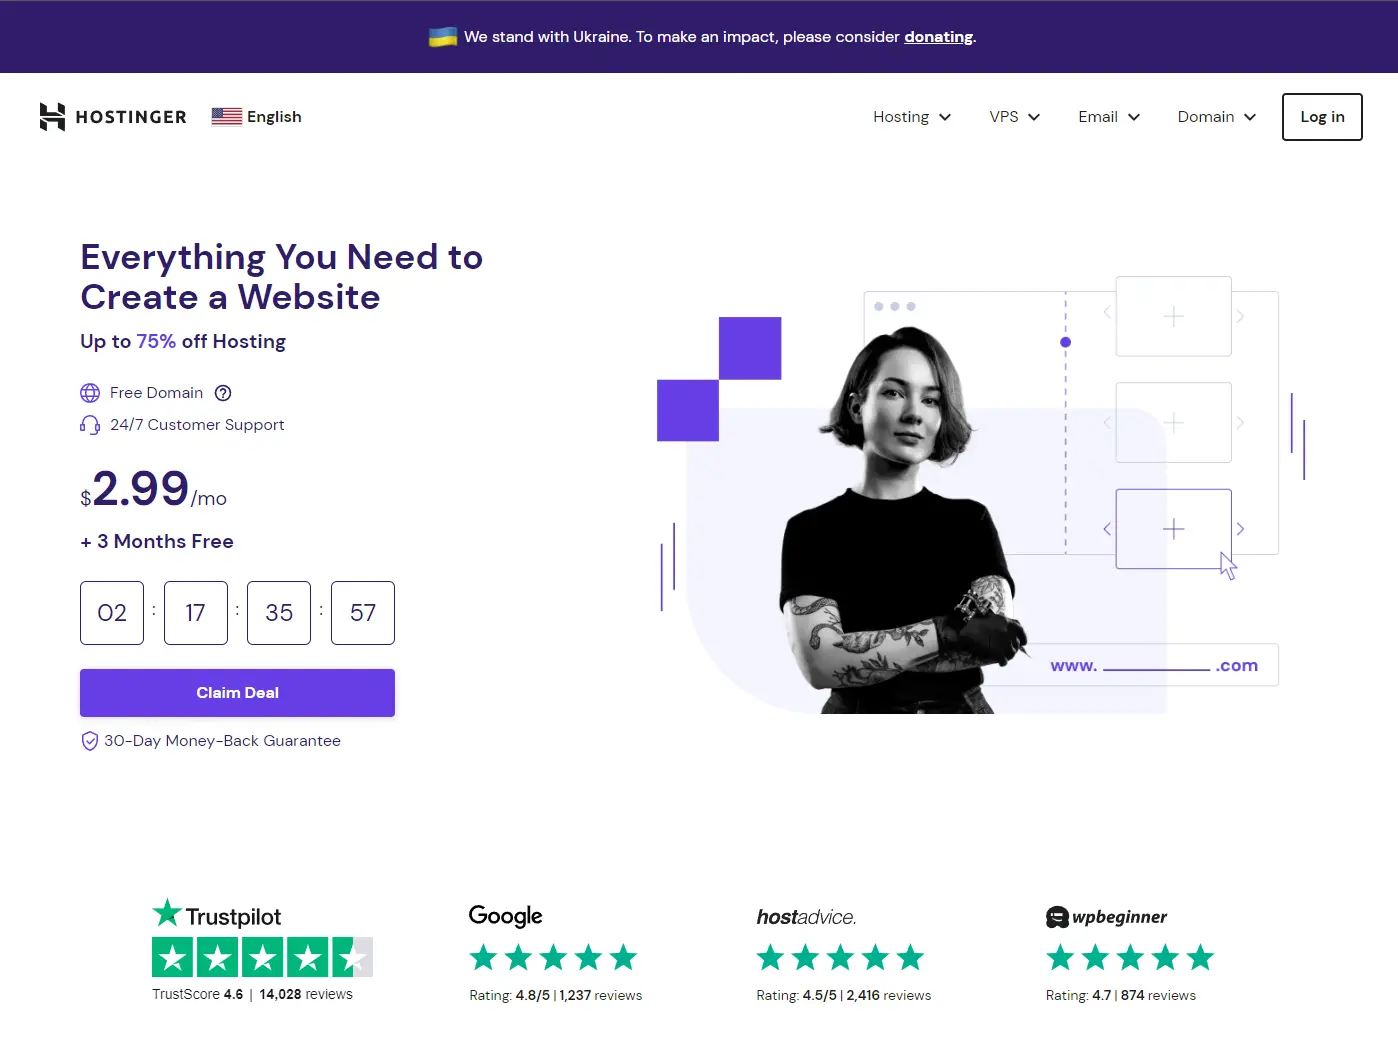
Deployment
Our application is now complete. Now we will deploy it to Hostinger. Hostinger is extremely reliable and I have been working with them for years. Again, you can use the code TRAVERSY to get 10% off.
Build for Production
We need to build the application for production. Run the following command:
npm run build
Now you will have a dist folder. This is the folder that we will upload to Hostinger.

Go to your Hostinger H-Panel and click on the File Manager tab.
From here, you can simply drag and drop the contents of the dist folder into the public_html folder.

That was insanely easy. Now if you go to your domain, you should see the application.
Conclusion
That's It! We have successfully created and deployed a keyword extractor using the OpenAI API. We can use this for a variety of different applications.
The final code for this project is available on GitHub.
I hope you enjoyed this tutorial and learned something new. If you have any questions, feel free to reach out to me on Twitter @bradtraversy.
Stay connected with news and updates!
Join our mailing list to receive the latest news and updates from our team.
Don't worry, your information will not be shared.
We hate SPAM. We will never sell your information, for any reason.
