Build a Simple Bootstrap 5 Starter Template & Workflow
Apr 19, 2023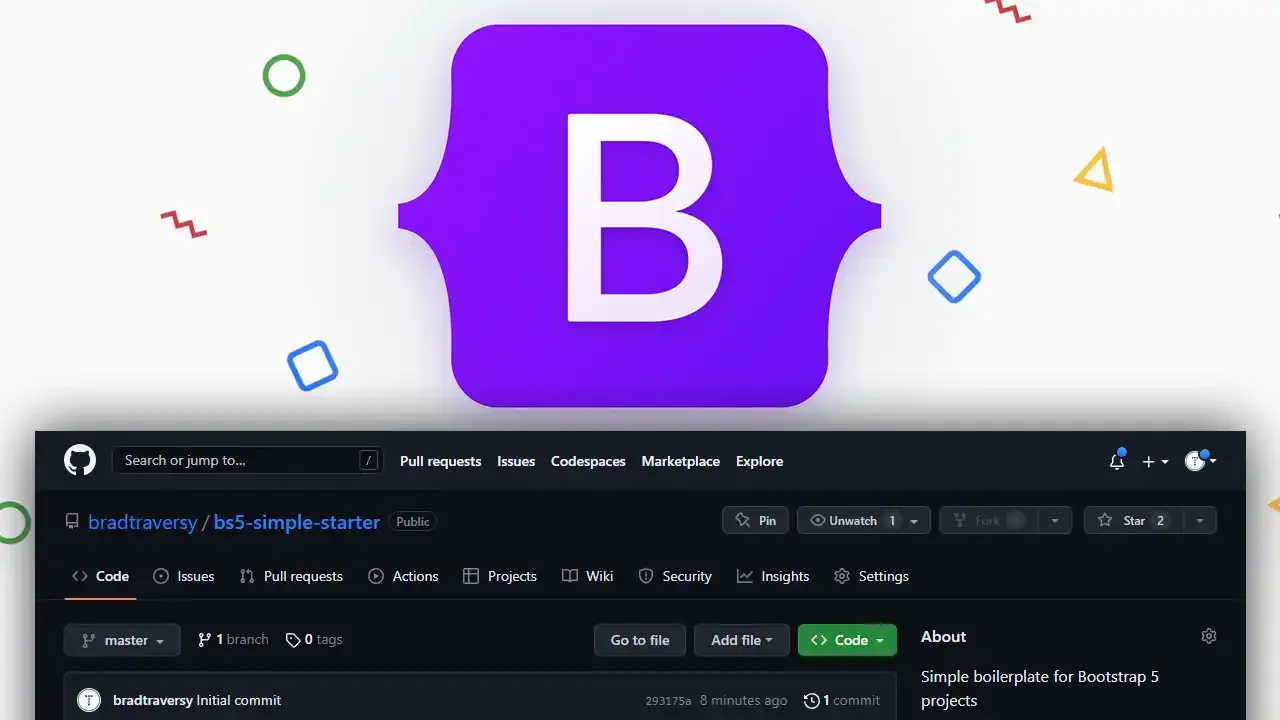
In this tutorial, we will create a simple starter template for building and customizing Bootstrap projects. We will not be using any module bundlers. We will only use Bootstrap, Sass and Font Awesome. We will also use NPM scripts to compile our Sass files into CSS.
The code for this can be found at https://github.com/bradtraversy/bs5-simple-starter
Bootstrap 5 is a very popular CSS framework that allows you to create great looking layouts in a short amount of time because it offers pre-written CSS components. Getting started can be as easy as including this CDN link in your HTML <head> tag.
<link
  rel="stylesheet"
  href="https://cdn.jsdelivr.net/npm/[email protected]/dist/css/bootstrap.min.css
"
/>
There is an issue with doing it this way though and that is that you can't really customize your layouts including colors, spacing, rounded corders and more. You can of course override the Bootstrap CSS with your own, but that isn't really the cleanest way to do things. Instead, you should create a workflow where you can compile your own custom version of Bootstrap. We can do this by changing the Sass variables and re-compiling into your own custom CSS file.
Module Bundlers
One way to do this is to use module bundlers such as Webpack as well as more modern build tools such as Vite. Webpack has a Sass loader, which can be a bit of a pain to set up if you're a beginner. Vite has Sass integration built right in, but it may be overkill if you are just building a simple website and you don't need to write a bunch of custom JavaScript or use a framework like React.
The Simple Approach
We are not going to use any bundlers. My plan is to just install Bootstrap and Sass via NPM and simply override any CSS variables that we need to and then compile our own version of the Bootstrap CSS. We will also include the font-awesome library for icons. You can then use this as a starting point for your own projects.
Installation
Create a new folder and cd into it. You can call it whatever you want. I will call mine bs5-simple-starter.
mkdir bs5-simple-starter
cd bs5-simple-starter
Initialize NPM in the folder.
npm init -y
Now Install Bootstrap and Sass as dev dependencies. You can install then as dev dependencies because they are only being used in development to compile your CSS that you will then use in production.
npm i -D bootstrap sass
Create Your Sass File & Import Bootstrap
You will need your own custom Sass file to import Bootstrap into. Create a folder called scss and a file called bootstrap.scss and add the following code:
// Bootstrap Variables
$primary: #ff0000;

@import '../node_modules/bootstrap/scss/bootstrap';
We are bringing in the Bootstrap scss. We are also overriding the $primary variable to be red instead of the default blue.
This is how you can customize the look of your website. If you open up node_modules/bootstrap/scss/variables.scss file, you can see all of the variables that you can use.
You never want to edit anything in the node_modules folder because this will be overwritten when there is an update. So we overwrite them in our own file. It is important to put the variables before the import.
NPM Script
We need a way to make Sass compile our bootstrap.custom.scss into a normal CSS file. Let's add a couple scripts to our package.json file:
 "scripts": {
    "sass:build": "sass --no-source-map scss:css",
    "sass:watch": "sass --no-source-map --watch scss:css"
  },
The build script will compile the scss file into a css file. The watch script will watch the scss file for changes and re-compile it. You will use the watch script in development.
Now, simply run the following command to watch the scss file for changes:
npm run sass:watch
You should see a css file with your bootstrap.css file in it. I added the --no-source-map flag because I don't want to include the source map. You can remove this if you want to generate a source map.
Custom CSS
It's good to also have a custom CSS file that you can use to add your own custom styles. It's up to you if you want to use Sass or not. I am going to use Sass for this example. Create a file called styles.scss in the scss folder.
You can add whatever you want to this file. I am going to leave it empty for now. A style.css file will be generated in the css folder.
Bootstrap JavaScript
If you want to use things like the modal, popovers, carousel, etc, you need to include the Bootstrap JavaScript bundle. Go to this page and download the compiled CSS and JS. Create a folder called "js" in your project and copy the bootstrap.bundle.js file into your "js" folder. Then add the script tag right above your closing body tags.
Font Awesome
This is optional, but I am also going to install the font-awesome library. This is a great library for icons. You can use the CDN if you would like, but I am going to install it in our starter kit. You can install it with the following command:
npm i -D @fortawesome/fontawesome-free
Create a file called font-awesome.scss in the scss folder and add the following imports:
@import '../node_modules/@fortawesome/fontawesome-free/scss/fontawesome.scss';
@import '../node_modules/@fortawesome/fontawesome-free/scss/brands.scss';
@import '../node_modules/@fortawesome/fontawesome-free/scss/solid.scss';
You need to be able to access the webfonts folder. Go into node_modules/@fortawesome/fontawesome-free/ and copy the webfonts folder into your project's root folder.
You should now be able to use custom fonts.
Create The HTML File
Now, just create an index.html file and add the following code:
<!DOCTYPE html>
<html lang="en">
  <head>
    <meta charset="UTF-8" />
    <meta http-equiv="X-UA-Compatible" content="IE=edge" />
    <meta name="viewport" content="width=device-width, initial-scale=1.0" />
    <link rel="stylesheet" href="css/font-awesome.css" />
    <link rel="stylesheet" href="css/bootstrap.css" />
    <link rel="stylesheet" href="css/styles.css" />
    <title>Bootstrap 5 Simple Starter</title>
  </head>
  <body>
    <div
      class="container d-flex flex-column align-items-center justify-content-center text-center vh-100 w-50"
    >
      <h1 class="text-primary">
        <i class="fa fa-star"></i> Bootstrap 5 Simple Starter
      </h1>
      <p>
        This is a boilerplate for creating and customizing Bootstrap 5 projects.
      </p>
    </div>
  </body>
</html>
You should see this:

You can now use this as a starting point for your own projects. Again, look at the node_modules/bootstrap/dist/scss/_variables.scss file to see all of the variables that you can use to customize your website.
.gitignore File
You should also add a .gitignore file to your project and add the following:
node_modules
css
This way, if you push to GitHub, you won't be pushing your node_modules folder. The css folder is also ignored because you can always re-compile the Sass files.
That concludes this bootstrap course. If you would like to see more bootstrap classes or bootstrap tooltips, check back for updates.
Stay connected with news and updates!
Join our mailing list to receive the latest news and updates from our team.
Don't worry, your information will not be shared.
We hate SPAM. We will never sell your information, for any reason.
