Vercel & Formspree | Simple Hosting & Form Solution
May 30, 2023
I have been a web developer for about 16 years and back in the day, it was kind of a pain to create a good contact form solution. I was using PHP scripts that were clunky, not really secure, and didn't combat spam very well, if at all. There are many solutions now and one of my favorites is Formspree. It has a generous free tier and it is very easy to use. I am going to combine that with one of my favorite hosting providers, Vercel. Vercel also has a very generous free plan. So you can use both of these without paying a dime for personal projects.
This post is not sponsored, but I do have an ambassador link for Vercel. I would appreciate it if you use that if you do sign up absolutely free - https://vercel.com/ambassadors/bradtraversy
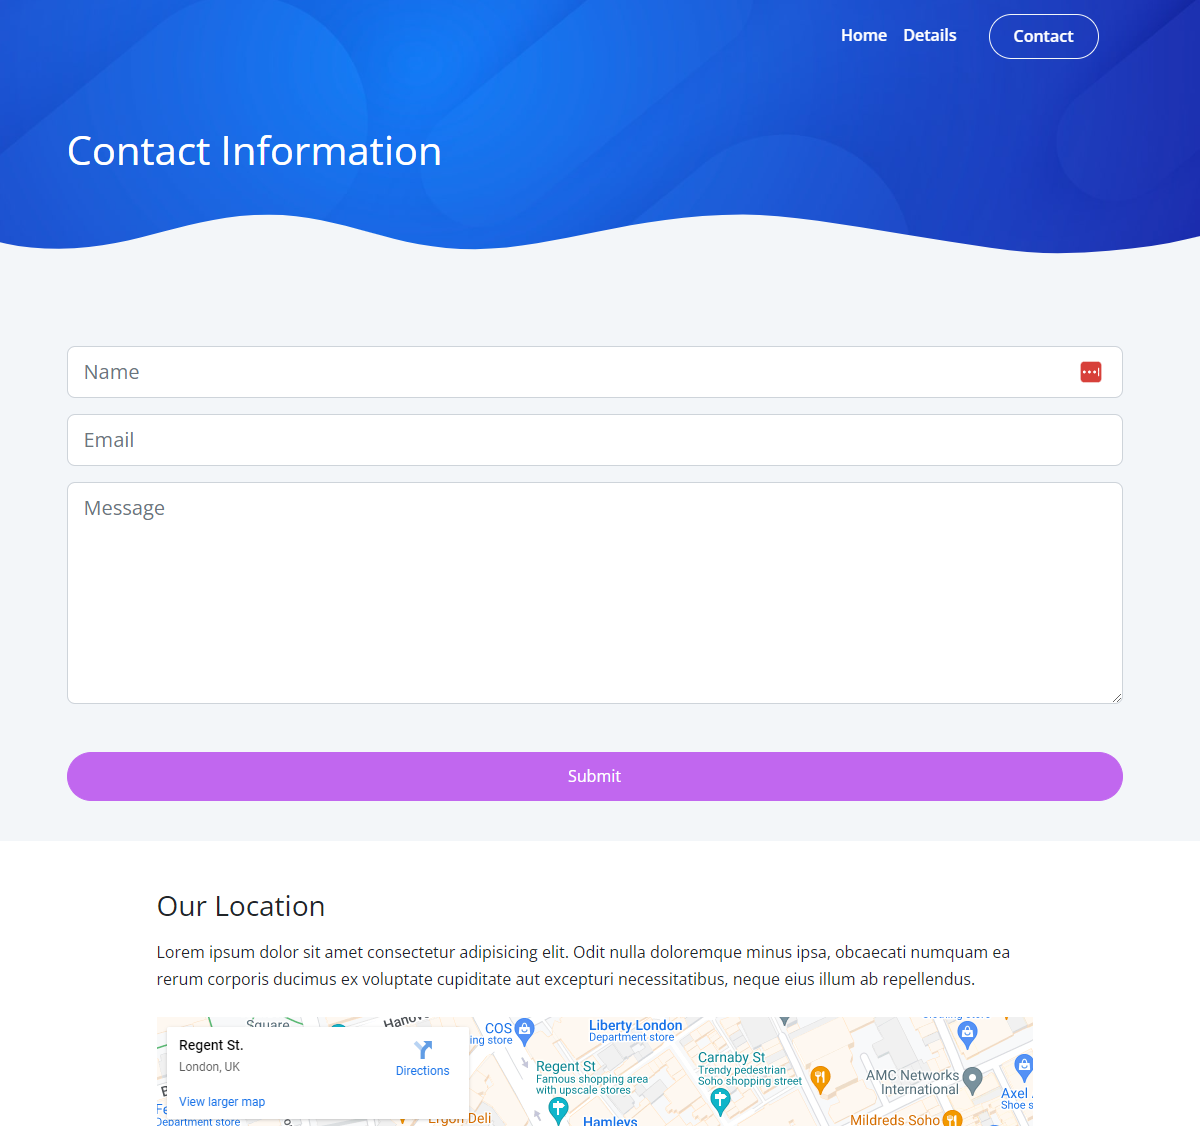
I will be using one of the websites from my upcoming Bootstrap 5 course. It's a simple ebook website that has a contact page with a simple form. It looks like this:
Vercel even has a direct integration option for Formspree, but I'm going to show you how to do it manually. Just in case you're using another hosting provider.
Setup Your Form At Formspree
We need to create an account at Formspree. This is a free service that will allow you to submit forms to an email address. It's very easy to use. I believe you get up to 1000 submissions for free and then there are paid plans if you need more.
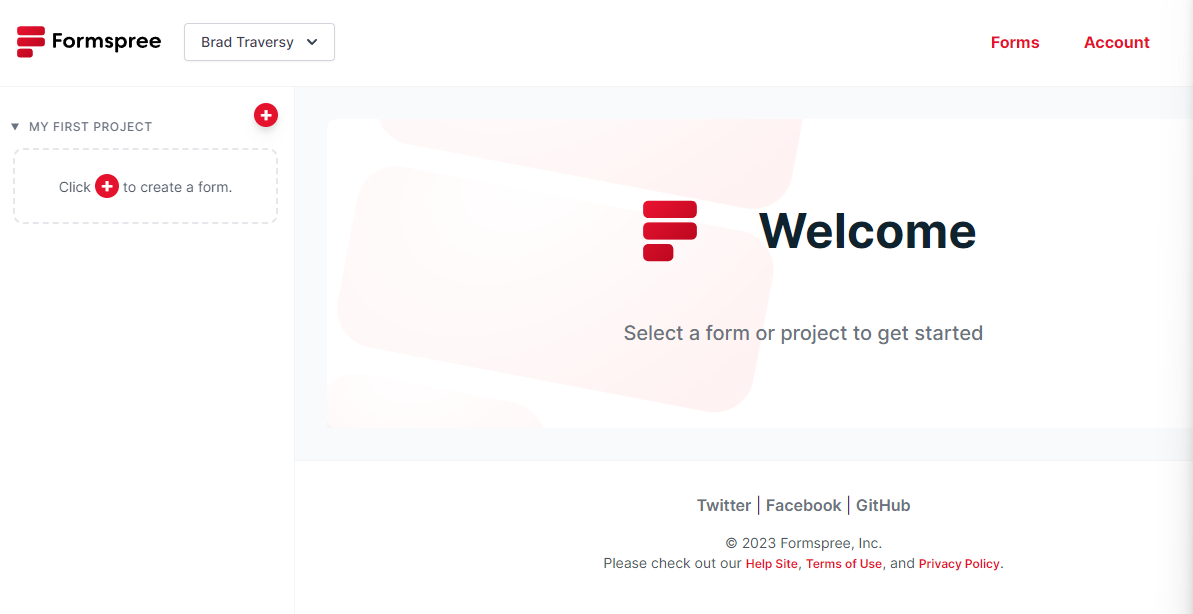
Create an account, log in, and click the + icon to create a new form.
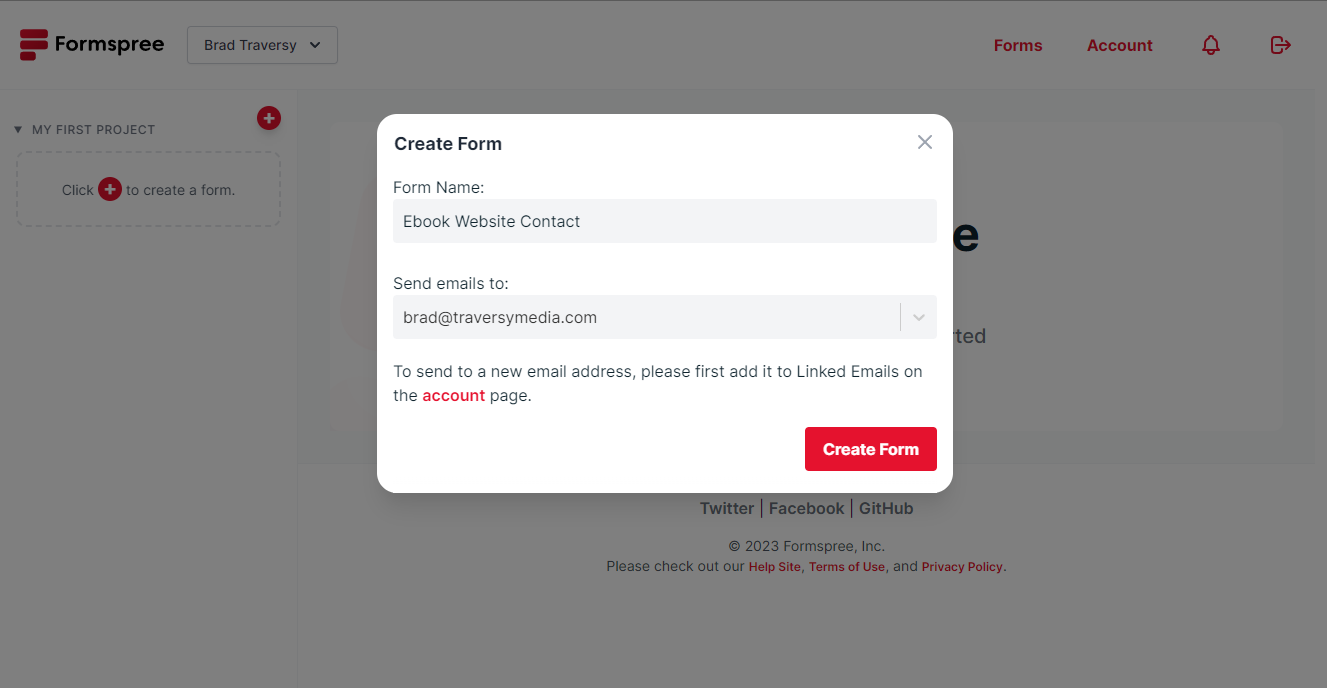
Name it and add the email address that you want it sent to.
Now you will see a page with your form's endpoint. Just add that to your form.
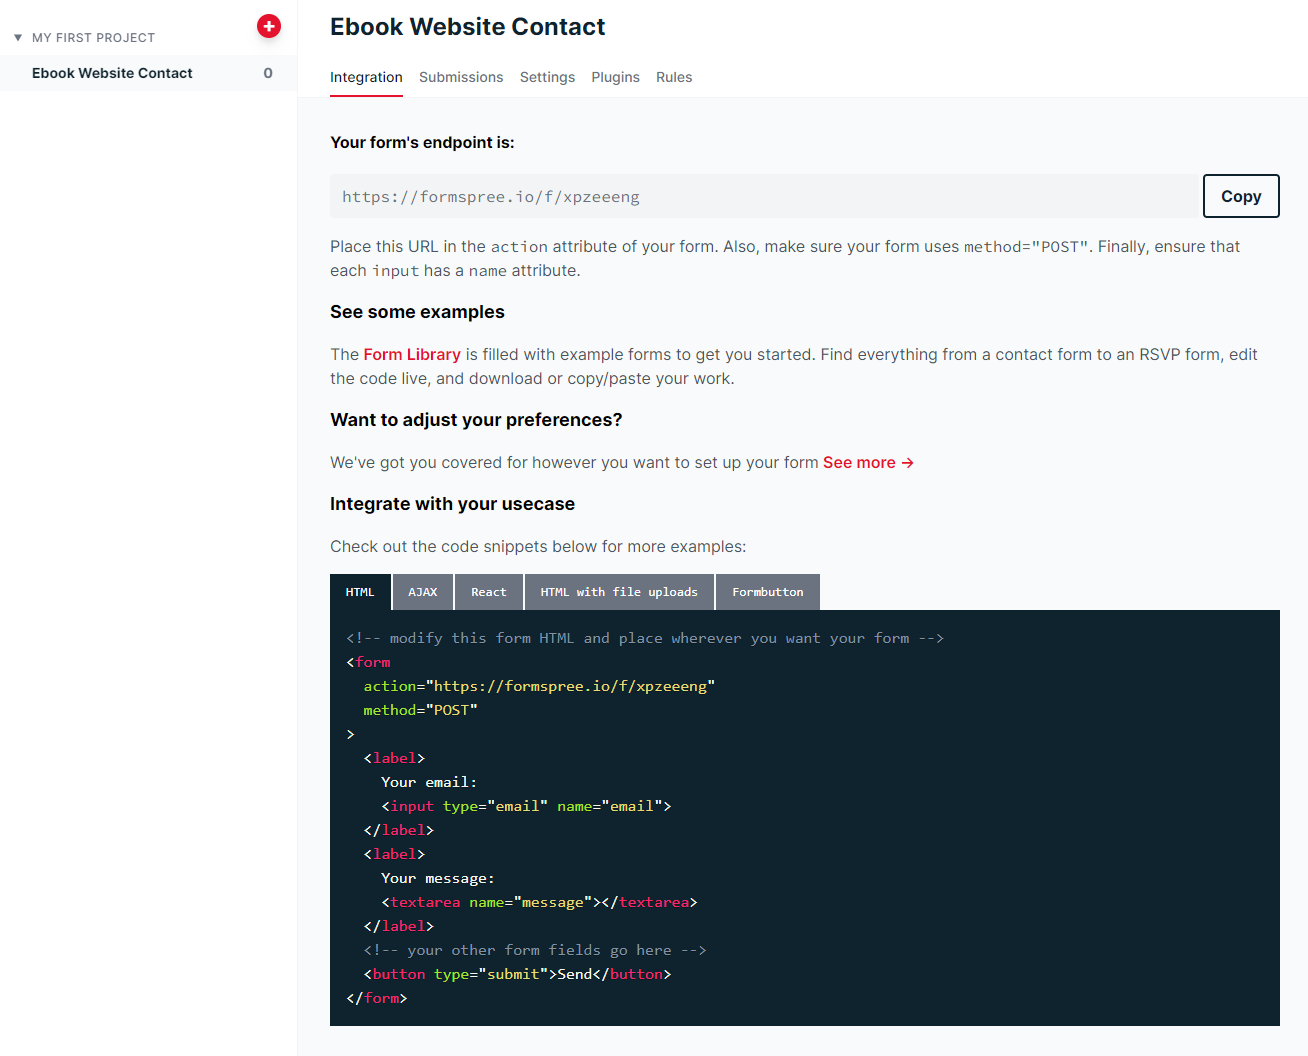
Here is what my form looks like:
<form action="https://formspree.io/f/xnqyyggn" method="POST">
  <div class="mb-3">
    <input
      type="text"
      name="name"
      class="form-control form-control-lg"
      placeholder="Name"
    />
  </div>
  <div class="mb-3">
    <input
      type="email"
      name="email"
      class="form-control form-control-lg"
      placeholder="Email"
    />
  </div>
  <div class="mb-3">
    <textarea
      name="message"
      class="form-control form-control-lg"
      placeholder="Message"
      rows="6"
    ></textarea>
    <div class="d-grid">
      <button class="btn btn-primary text-white mt-5">Submit</button>
    </div>
  </div>
</form>
Make sure you add the name attribute to each input. This is what will be used in the email that you receive.
Push Your Project To Github
So the first thing we wanna do is push our project to Github. I'm going to assume that there are beginners watching this, so I'll show you how to do that. If you already know how to do this, you can skip ahead.
Sign up for a Github account if you don't already have one. Then create a new repository. I'm gonna call mine "ebook-website". It's actually one of the main projects in the Bootstrap course.
Once you create your repo, you'll see some instructions on how to push your project to Github.
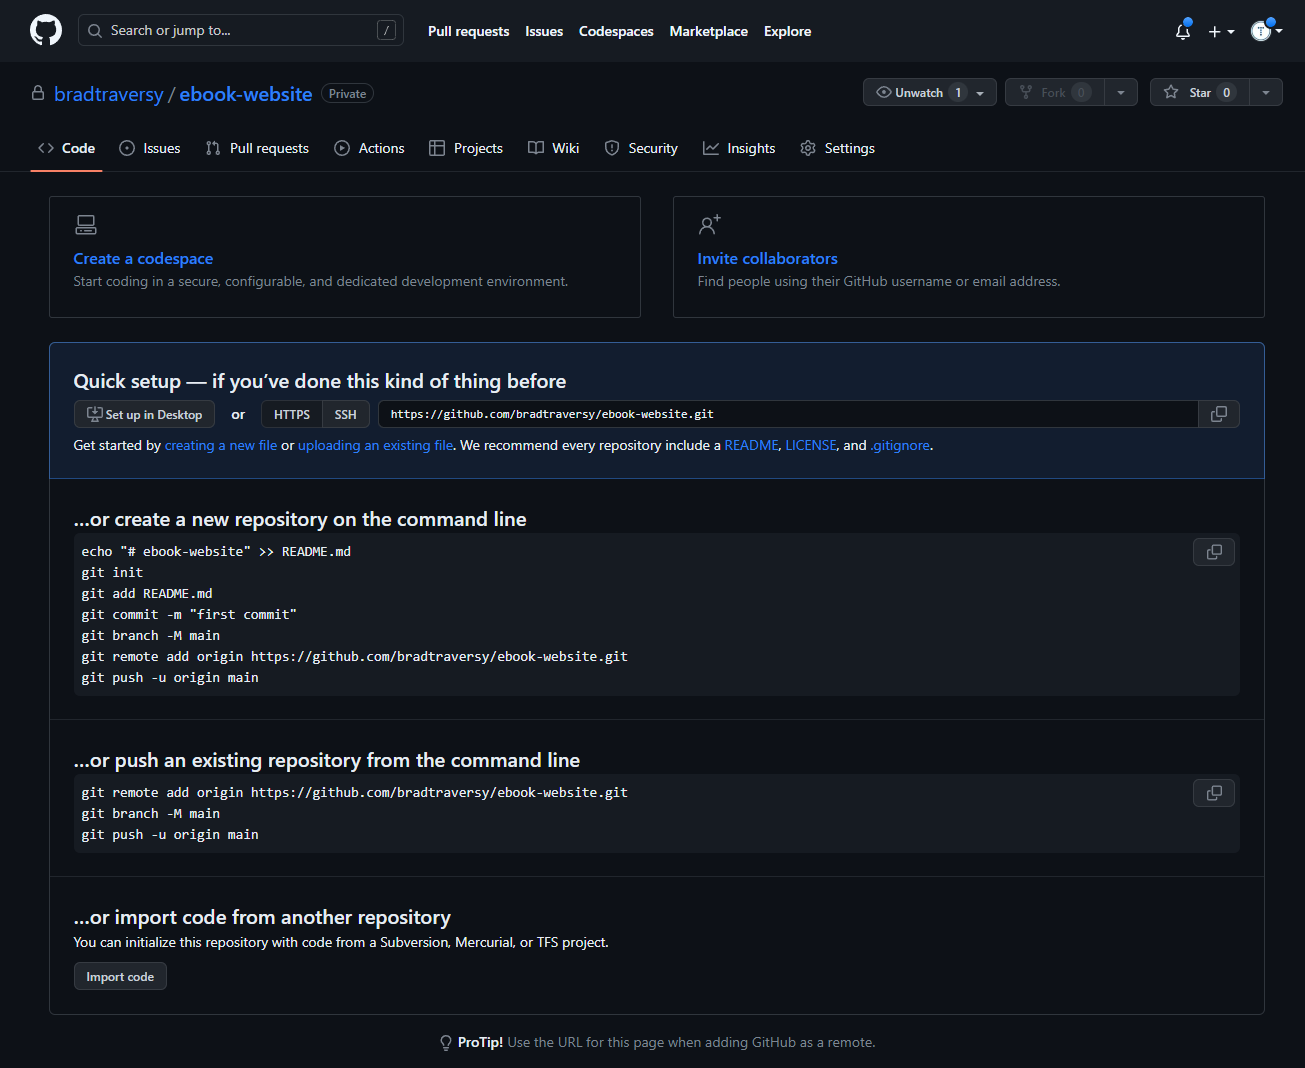
You can either use the command line, the Github desktop app or VS Code's integration. I'm gonna use the command line.
First, initialize a new git repo, add your project files to the staging area and then commit them.
git init
git add .
git commit -m "Initial commit"
Now copy the remote command and paste it into the terminal. This will add the remote origin to your project. Then push to the main branch.
git remote add origin https://github.com/YOURUSERNAME/YOURREPO.git
git branch -M main
git push -u origin main
Now your project is on GitHub.
Deploy To Vercel
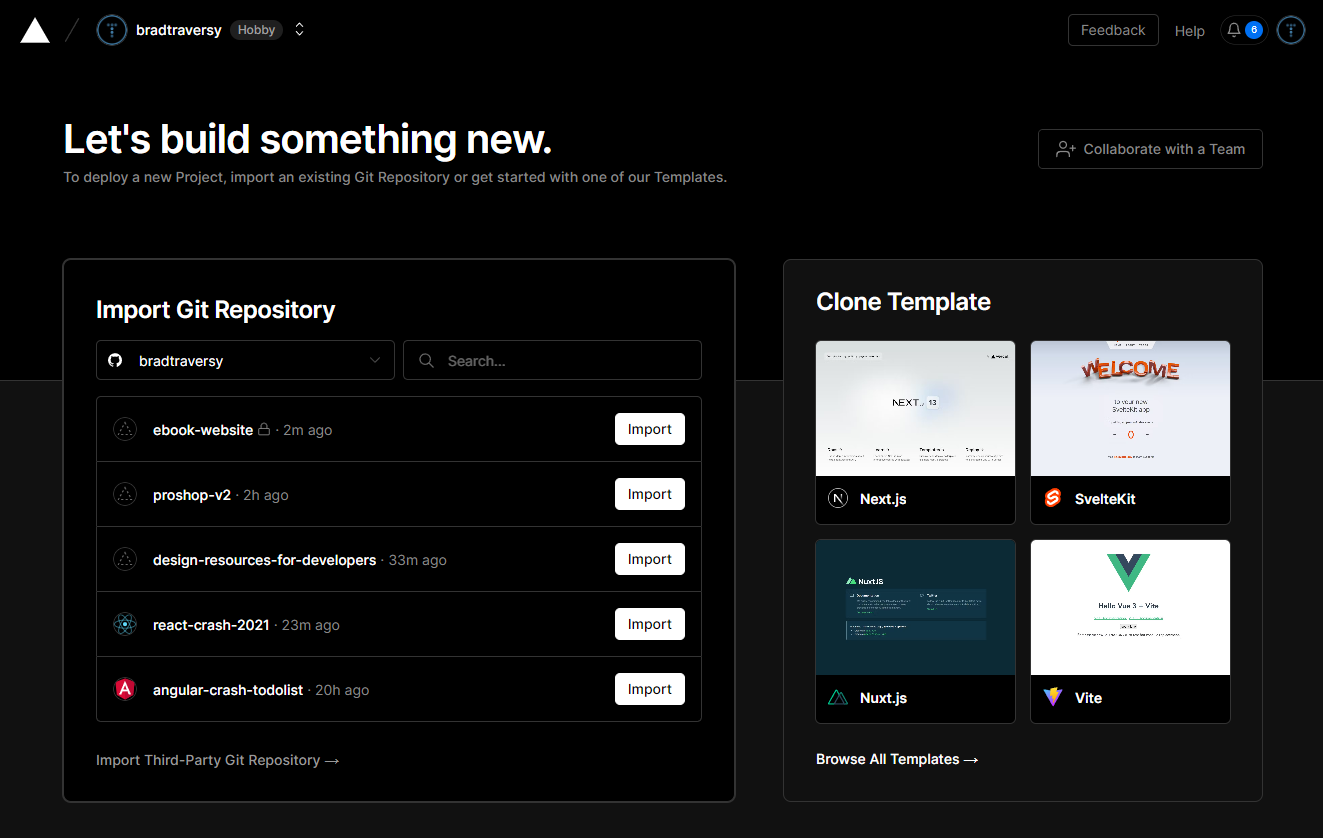
Next, go to Vercel and sign up for free. Once you're in, click on Add New->Project and click import for the repository that you want to use.
Configure Project
Now you will see a screen with a form to configure your project. What you put here depends on your project. You can use whatever name you want. If you are using a framework, you can select that.
The way that my project works is that it uses Sass and in order to build the .scss files to .css, I need to run a command - npm run sass:build, so I'm going to click the Override switch and put that in the build command field.
By default, it will use /public as the output path. Since my project builds to the root, I will override and enter '/' for the output directory.
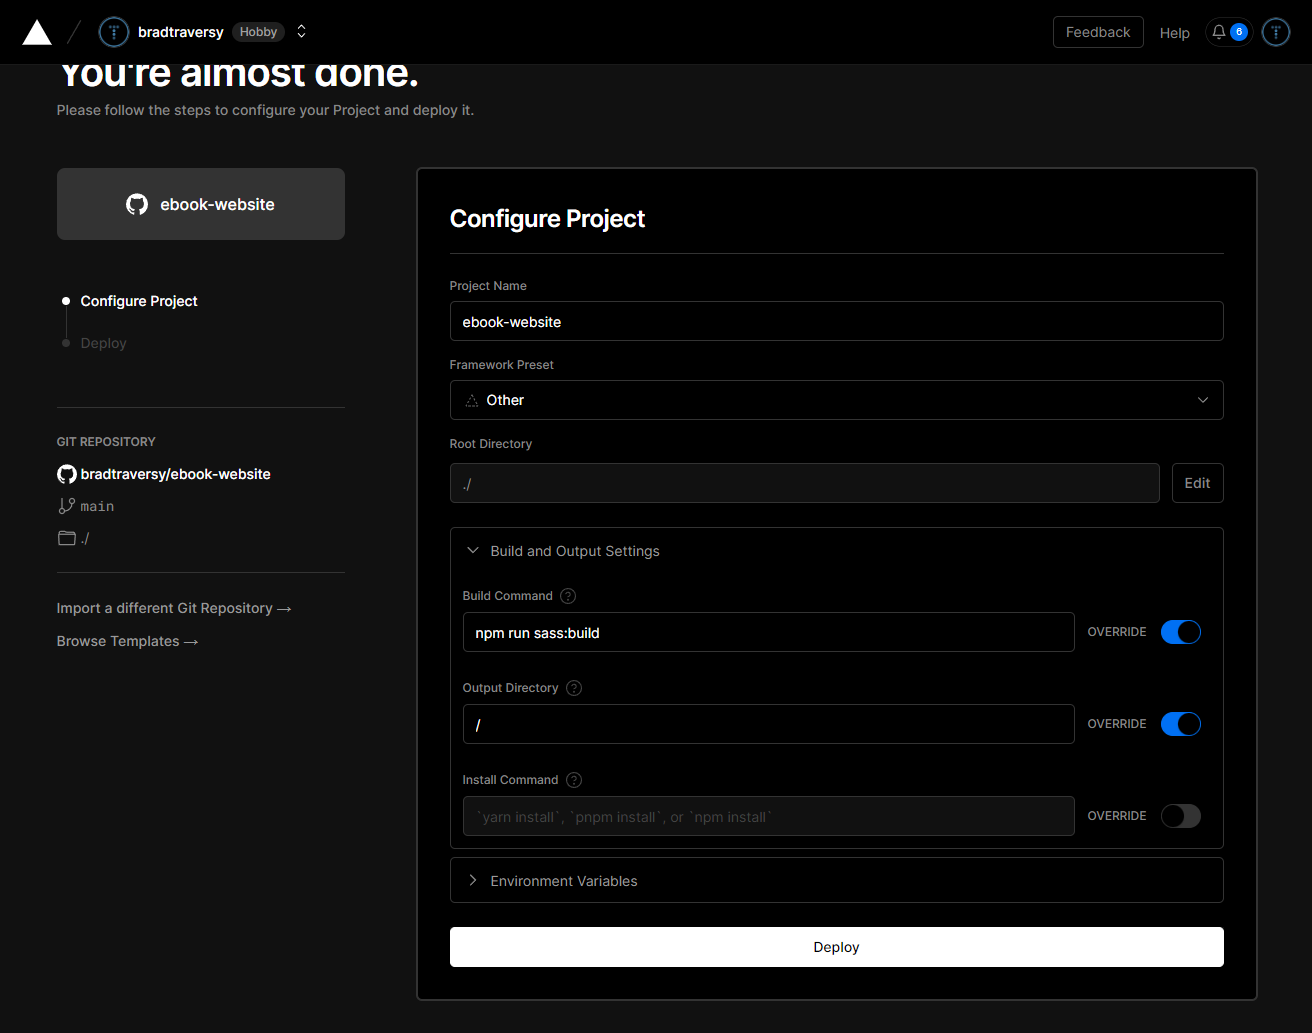
If you are just deploying a static site, you can leave the defaults. Then hit Deploy.
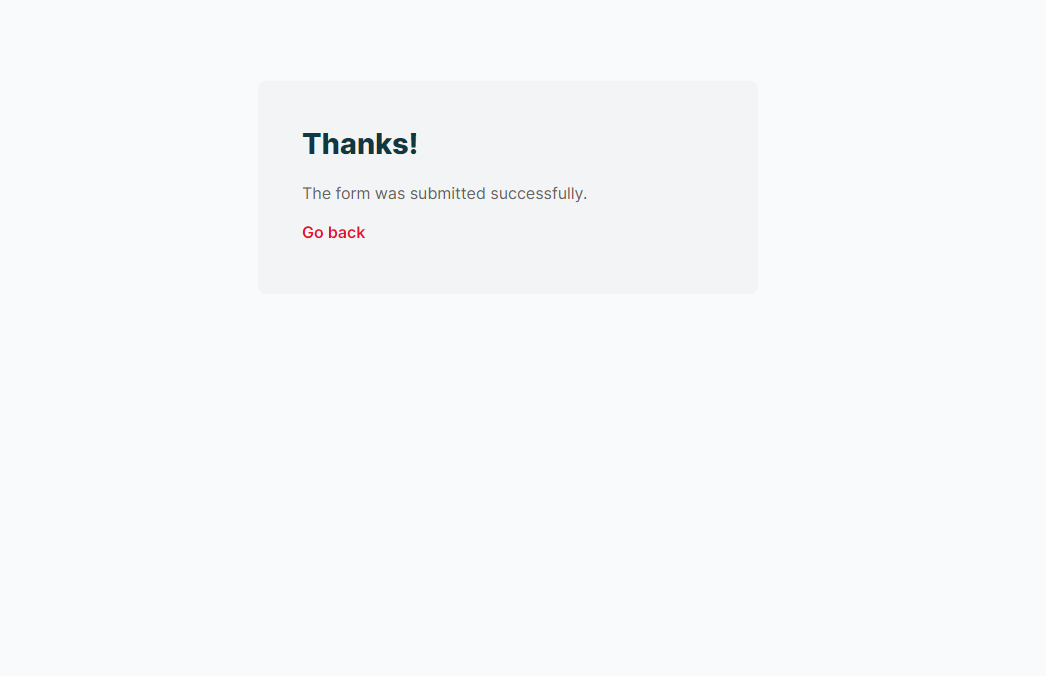
Now you should see a success message and a link to your project. Click that and you should see your site.

Now go to the contact page and submit your form. You should see a success message and you should receive an email.
You can go into your Formspree account and see all of your submissions.
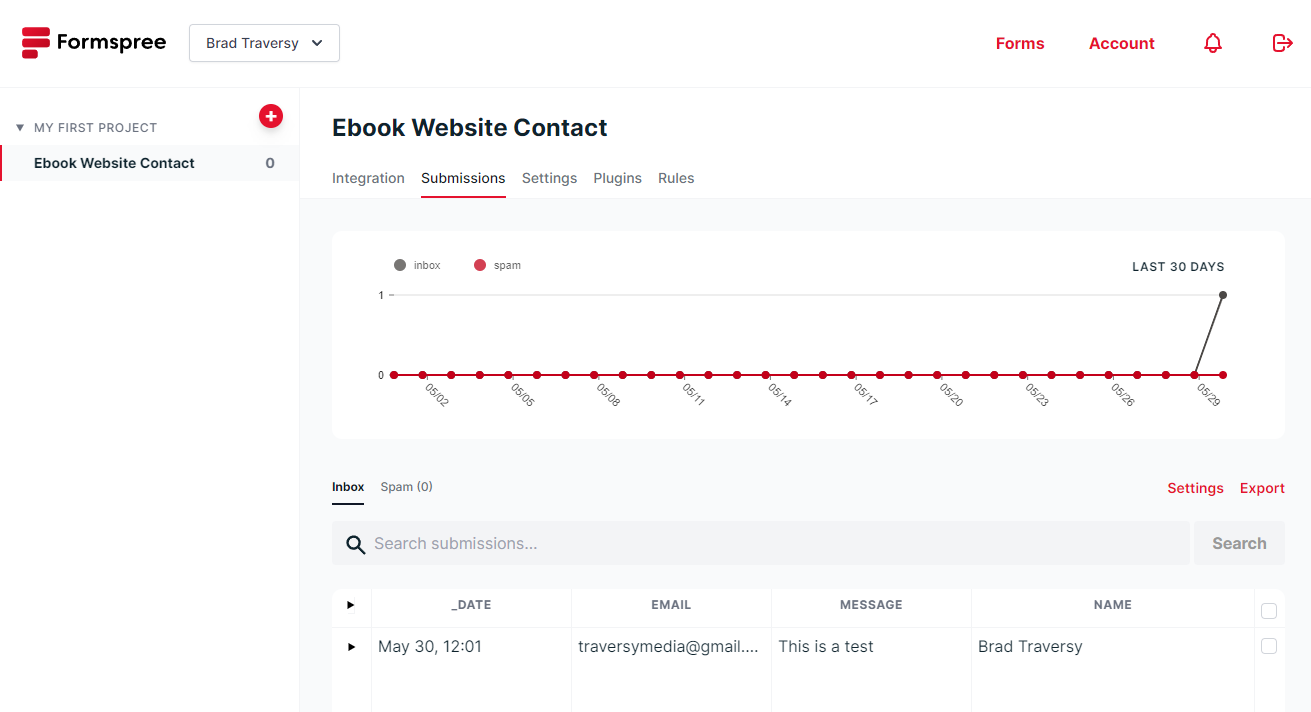
There are also all kinds of plugins that you can use such as Mailchimp, Slack, Zapier, etc.
I think that this is a great solution for smaller projects, freelancers, etc. It's free and very easy to use. Obviously, if you have a larger project, you may want to look into paid options for both Vercel and Formspree.
Stay connected with news and updates!
Join our mailing list to receive the latest news and updates from our team.
Don't worry, your information will not be shared.
We hate SPAM. We will never sell your information, for any reason.
