Vite Crash Course & Vite vs CRA
Mar 13, 2023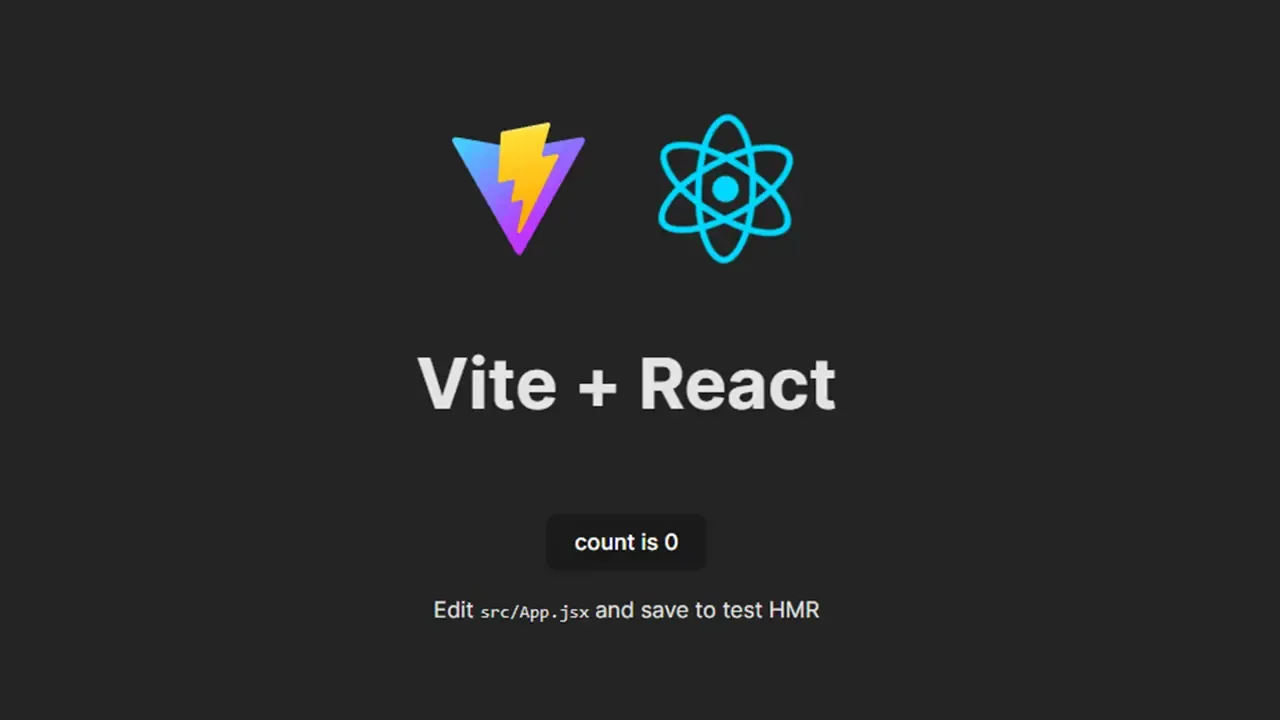
In modern front-end JavaScript, tooling is incredibly important. Since we are building for the browser, we need tools to bundle all of our JavaScript files and modules. In the past, we have used module bundlers like Webpack, however, Webpack is a bit of a behemoth. It is a very powerful tool, but it is also very complex. In this article, we will take a look at Vite, a newer build tool that was created by Evan You, who also created the Vue.js framework.
Vite can be used for vanilla JavaScript projects, but it is also designed to work with frameworks like React, Vue, and Svelte. In this article, we will be using React, but the concepts are the same for all of the frameworks.
How Vite Works
Before, we look at how Vite works, let's talk about how a bundler like Webpack works. Webpack can take all of our JavaScript files and modules as well as our CSS, Sass and other assets and bundle them into a single or a sometimes few files. We use a webpack.config.js file to configure and tell Webpack how to bundle our files. We can also install plugins and loaders to help Webpack do its job.
The issue that we can run into with Webpack and other traditional module bundlers is that they can be slow as they have to bundle our files every time we make a change. The larger the application, the longer it takes to bundle our files. Installing and configuring plugins and loaders can also be a bit of a pain.
Vite does a lot of the same thing but addresses these issues. When we're in development, it doesn't build on every save like Webpack or Parcel does. Instead, it serves our files directly to the browser. Vite is built on top of esbuild, a JavaScript bundler written in Go that bundles dependencies 10 to 100 times faster than JavaScript-based bundlers. esbuild also takes advantage of native ES modules in the browser. This means that Vite can serve our files directly to the browser without bundling them.
Vite also takes advantage of code splitting on the fly to only load the code that we need. This means that we can have a very fast development experience.
When it comes time to build your files for production, Vite uses an actual module bundler called Rollup. It also performs optimizations like minification and tree shaking to make our files as small as possible.
Replacement For Create React App (CRA)?
Create React App is a great tool for getting started with React. It is very easy to use and it comes with a lot of features out of the box. However, there are a few drawbacks. As your application grows, you may see a loss in performance. It is also not very customizable. To edit the Webpack configuration, you have to eject the application. This means that you lose the ability to update your application with the latest features from Create React App. Vite can be a great alternative to Create React App. It is very fast and it is very customizable. It also has a lot of the same features that Create React App has out of the box.
Let's take a closer look at how CRA works.

When we first run CRA, Webpack will look at the entry point, which is the index.js file. It will then bundle all of the files and modules that are imported into the index.js file, transpile the code with Babel, set up web sockets for hot reloading, and then serve the files to the browser.
This process is great for development, but the issue is that CRA has to bundle all of the files every time we make a change. This can be very slow as our application grows. It also means that we have to wait for the files to be bundled before we can see our changes in the browser.
Let's take a look at the Vite process.

We don't need to bundle everything before starting the server. Vite uses esbuild to pre-bundle our files and do code splitting on the fly. This means that we can start the server and see our changes in the browser immediately and we don't have to wait for the files to be bundled. This is a huge improvement over CRA.
After the app is served to the browser, Vite will watch for changes and update the browser in real-time. It uses the browser to parse the ES modules and then it will bundle the files on the fly. This means that we can see our changes in the browser immediately.
When your code contains import and export statements, the browser will request the corresponding files from the server via HTTP. The development server then intercepts these requests and performs code transformations if necessary.
If there are no changes to the requested modules, the server will return a 304 not modified status code, and the browser will ignore them.
Getting Started With Vite
Now that you have an idea of how Vite works, let's start using it. To get started, we need to install Vite. We can do this by running the following command:
npm create vite@latest my-vite-app
You can also use Yarn to install Vite:
yarn create vite@latest my-vite-app
You will be prompted to select a framework. We can use the arrow keys to select the framework that we want to use. In this case, we will be using React. Once we have selected the framework, Vite will create a new project for us. It will also install all of the dependencies that we need.
We can also use the --template flag to specify a template. For example, if we want to use React, we can run the following command:
npm create vite@latest my-vite-app --template react
Folder Structure
Let's take a look at the project's structure. it is very simple.
index.html
The index.html is front and center in the src folder and isn't tucked away in a public folder. The public folder is for static assets like images, fonts, and icons. The src folder is where we write our code including all of our React components, etc.
The index.html file is very simple. It has a single div with an id of "root", similar to any other React application.
Let's look at the <script> tag. We can see that it is using the type="module" attribute. This tells the browser that we are using ES modules. We can also see that it is using the src attribute to point to the main.jsx file. This is the entry point for our application. Another nice thing is that the URLs inside index.html are automatically rebased so we don't need to add any special %PUBLIC_URL% placeholders.
The main.jsx file is the entry point to React. This is where we will import our App component and render it to the DOM using the ReactDOM.render() method.
Then we have an App.jsx file. This is where we will write our React code. There is nothing really different here. You can continue to write your React code as you normally would.
package.json
The package.json file is also very simple. We have React and React DOM as our dependencies. We also have vite as a dev dependency. We are also using the React plugin because we chose React as our framework when we created the project. If we had chosen Vue, we would have the Vue plugin installed. If we had chosen vanilla we would have no plugins installed. In addition, we have types for React and React DOM as Vite supports TypeScript out of the box.
As far as scripts go, we have a dev script that runs the vite command. This will start the development server. We also have a build script that runs the vite build command. This will build our application for production. As I mentioned earlier, Vite uses Rollup to bundle our files for production. There is also a preview script that runs the vite preview command. This will boot up a static web server and serve the files in the dist folder. This is useful for testing the production build.
vite.config.js
The vite.config.js file is where we can configure Vite. This is where we can add plugins, configure the development server. defineConfig is a helper function that is used to define the configuration object. Right now, we just have the React plugin added to the plugins array. We can add more plugins here if we need to.
We can also change some settings, including the port that the development server runs on. By default, it runs on port 5173. I prefer port 3000, so I'm going to change it to that.
export default defineConfig({
  plugins: [react()],
  server: {
    port: 3000,
  },
});
You can also add a proxy to the development server. This is useful if you are using an API that is running on a different port. You can add a proxy to the development server so that you don't have to worry about CORS.
Let's go ahead and run the development server.
npm run dev

You should see a screen similar to this. It is a welcome page with a simple counter on it. We can see that the development server is running on port 3000.
If we look at the source code in the browser, you'll see that the main.jsx file is being served as a module as well as the vite client for hot reloading. So you see we don't have a bundle.js file. We are just serving the files as modules. This is what makes Vite so fast.

Creating a React Component
Let's go ahead and just create a new React component and make sure everything works as it's supposed to and what we are used to.
I'll create a new folder called components and then create a new file called Header.jsx. I'll just create a simple component that renders a div with some text.
const Header = () => {
  return <div>Hello World</div>;
};

export default Header;
Then we will bring it into the App.jsx file and render it.
import Header from './components/Header';

function App( ) {
  return (
    <div className='App'>
      <Header />
      //...
    </div>
  );
}
You should see the text rendered in the browser.

Environment Variables
Just like CRA, Vite supports environment variables. We can create a .env file in the root of our project. We can then add environment variables to this file. They must begin with VITE_. Let's create one called VITE_API_KEY and set it to 123456789.
VITE_API_KEY=123456789
Now, let's go into the header and try to access this environment variable. We can do this by using the import.meta.env object.
const Header = () => {
  return <div>{import.meta.env.VITE_API_KEY}</div>;
};

export default Header;
Now you should see the API key rendered in the browser.
Using SASS
Sass support is built into Vite. We can use it by installing the sass package.
npm install sass
Let's create a styles folder and add a main.scss file and change the body background color.
body {
  background-color: steelblue;
}
Then we can import our Sass file into the app.jsx file.
import './styles/main.scss';
That's it. Now you should see the background color change to steelblue.
Post CSS & CSS Modules Support
You can also use Post CSS with Vite. If the project contains valid PostCSS config (any format supported by postcss-load-config, e.g. postcss.config.js), it will be automatically applied to all imported CSS.
CSS Modules are also supported. You can just add .module.css to the end of the file name and it will be treated as a CSS module.
Building for Production
Let's go ahead and build our application for production. We can do this by running the build script.
npm run build
This will create a dist folder. This is where our production build will be. We can serve this folder using the preview script.
npm run preview
You should now see your production build.
Plugins
Vite does a good job providing out of the box solutions, so make sure you check out the features guide before looking for a plugin.
With that said, you can extend the features of Vite using plugins, which are basically Rollup plugins with some Vite-specific options. You can find a list of official plugins here as well as a list of community plugins here.
Conclusion
So that's it for the Vite crash course. That's how you can get started with Vite. It's a great tool for building modern web applications. It's fast, easy to use, and has a lot of great features. I hope you enjoyed this Vite tutorial and learned something new.
Stay connected with news and updates!
Join our mailing list to receive the latest news and updates from our team.
Don't worry, your information will not be shared.
We hate SPAM. We will never sell your information, for any reason.
